


Red (Grape) Wine Recipe
If you have been growing your own red or black grapes and want to turn them into delicious wine, then we have an easy to follow recipe, that's simple and will help you turn your grapes into a gorgeous rich, dark and fruity red wine.
You will need to wait until your grapes are very ripe. Taste them and if they are not really sweet, then leave them a little longer.
If you have bunches that are really ripe and others that are still needing extra time, then pick the ripe ones and pop them in a bag in the freezer and keep adding the ripe bunches until you have enough grapes to make your wine.
If you find you don't have enough grapes, then check out our grape and apple wine recipe.
One mistake people make when making wine from grapes, is not squishing all the grapes. This can take time by hand, so this is a lot easier if you wash your feet and get in there and do it the French way.
Our recipe below will take you through the steps to make a commercial wine, which will be ready to bottle in 5 -6 weeks.
Once bottled, we recommend storing your wine somewhere cool for 6 months to allow the wine to condtion and improve in the bottle. If your grapes are particularly acidic, or particularly high in tannins (think of the dryness your get with a stewed stong cup of tea) then leave in the bottles for at least 12 months.
Grapes grown here in the UK, might not have enough sugar to make a wine of around 12-14%, so it is likely you will need to add sugar. We recommend using brewing sugar as supermarket sugar will make your wine sweet, but more on that in the recipe.
Now you have your grapes, let's get brewing.


Ingredients
To Make 6 bottles (4.5 litres) of Red Wine from Grapes, you will need:
9kg (20lb) Red or Black Grapes (washed)
1kg (2lb) sugar
Campden Tablets
1 tsp Pectolase
1 tsp Red Wine Yeast
1 tsp Yeast Nutrient
Fermentation Stopper
Finings

Equipment
Some essential equipment is needed to be sure of a good fermentation and a drinkable finished wine.
You will need:
Cleaner and Steriliser
Brewing Bucket
Demi-John with Air-Lock
Siphon
Muslin or a Straining Bag
Hydrometer
Thermometer
Bottles & Corks


Method
1 - Remember to sterilise all equipment before use.
2 - Put the grapes (no stalks as these are bitter) in the bucket and squish them, being careful not to crush the pips.
3 - Use a potato masher to squish them slightly to help release all of their lovely juice. If you don't have one, get in there with your hands or feet ;)
4 - Take a sample of the juice and test this with the hydrometer. This will tell you your potential alcohol that the grape juice will reach.
5 - As we want to get it to around 13%, you may need to add more sugar.
6 - Use the hydrometer reading and a simple calculation to determine how much sugar you need to add.
7 - To raise the ABV by 1%, you will need to add 17 grams of sugar per litre of juice. Now multiply this by the number of litres of juice you have. Remembering that in your bucket is juice and fruit pulp. If you started with 9kg of fruit, you'll have approx 5 litres of juice left if you removed all the fruit pulp.
8 - Add the sugar and stir until thoroughly dissolved.
9 - Add 1 crushed Campden Tablet, this will kill off any natural yeasts,
10 - And add the pectolase. This will help break down the fruit and help infuse the flavours and colour.
Stir.
11 - Put the lid on the bucket and leave for 24 hours.
12 - Stir in the yeast and yeast nutrient into the grape juice.
13 - Put the lid on loosely and put it somewhere warm (approx 20°C) for 3 days

The longer you leave the skins in the juice, the redder, darker and richer the finished wine will be.
14 - After 3-7 days of the wine fermenting on the skins, using the muslin or straining bag, strain the wine into another clean, sterilised bucket to remove the grapes, skins & pulp.
14a - After 7 days, siphon the liquid into a demi-john to the top of the shoulder. Fit a bung and airlock (1/4 filled with steriliser water) and put it back in your warm place (approx 20°C) to allow for the fermentation to complete.
15 - Leave for 2 weeks.
16 - Take a sample of the wine and with your hydrometer, check the specific gravity. It should now be below 1.000 and ideally around 0.995. This means all the sugars have been eaten by the yeast.


17 - If it has not reached this level yet, put the airlock back in and put back in your warm cupboard for 1 more week. Then test again.
18 - Once the fermentation has completed and no more air bubbles are passing through the airlock, rack (siphon) the wine off the sediment into a clean, sterilised demi-john, being careful not to disturb the sediment a the bottom.
19 - Add the fermentation stopper to the wine (as per the instructions on the packet) and replace the airlock.
20 - Swirl the wine around in the demi-john.
21 - You will notice lots of bubbles and gas being released. This is trapped CO2. This needs to be removed to aid the clearing process.

22 - Swirl the wine around in the demi-john 3 more times, swirling for 30 seconds and then leaving to settle for 5 minutes.
23 - Put the demi-john somewhere cool and where it won’t be disturbed for 2 days (preferably below 18°C) to allow the Fermentation Stopper to kill any remaining yeast.
24 - After 2 days, add the Finings (as per the instructions on the packet), then put the demi-john somewhere cool and where it won’t be disturbed for 2 weeks (preferably below 18°C) to allow the wine to clear.
25 - Once clear, take the final hydrometer reading. This will tell you the proof of your finished wine.

26 - Bottle and cork.
27 - Ideally leave for 6 months for its full flavour potential to be reached.
Cheers & Happy brewing.
Home brewed wine can be very strong, so remember to drink responsibly.

You May Also Be Interested In...
-
2 Handled Wine Bottle Corker
Regular price £15.73Regular priceUnit price per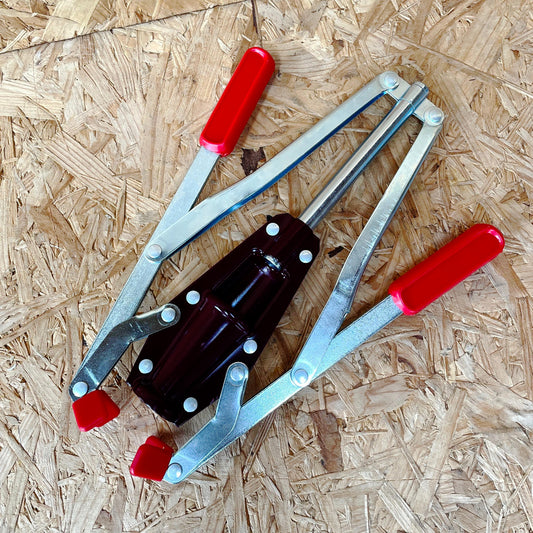
-
CLEAR IT Wine & Beer Finings
Regular price £5.66Regular priceUnit price per
-
10 Litre Youngs Fermentation Brewing Bucket & Lid
Regular price £7.79Regular priceUnit price per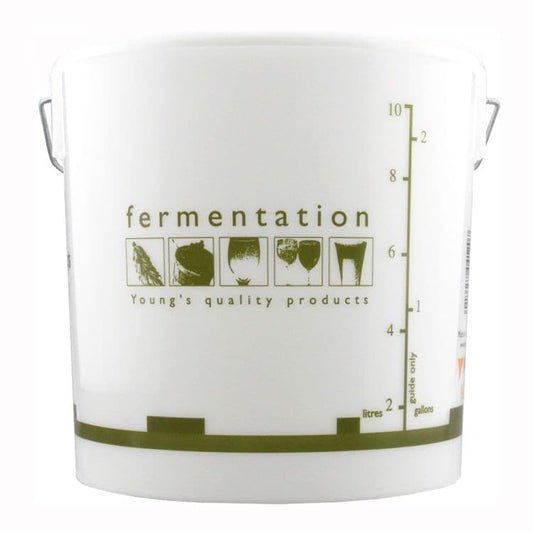
-
Harris Mk3 Vinbrite Wine Filter Kit with Filter Papers and Pads
Regular price £27.41Regular priceUnit price per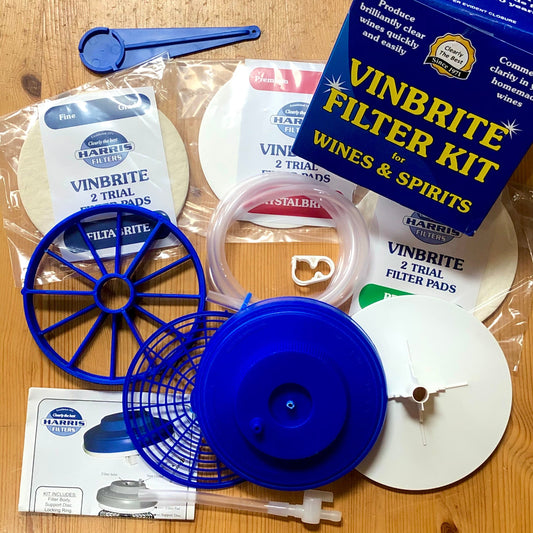
-
Demi John - 5 Litre Plastic with Cap and Rubber Seal (for airlock)
Regular price £2.95Regular priceUnit price per£3.79Sale price £2.95 Sale
Sale -
Large Mashing - Sparging - Straining Bag
Regular price £12.95Regular priceUnit price per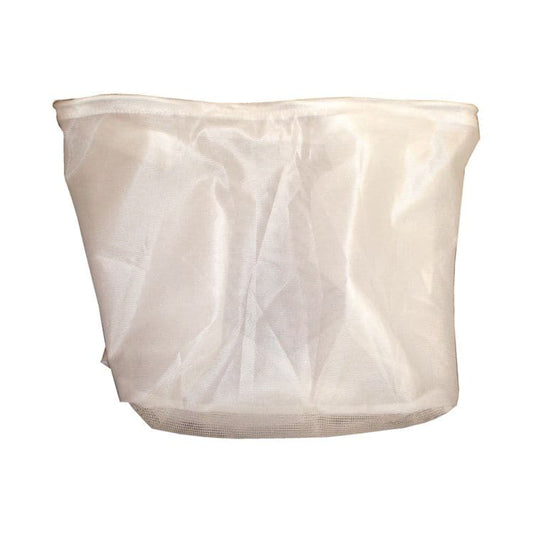
-
Wine Bottle Corks - 30 Pack
Regular price £3.95Regular priceUnit price per
-
Spin Vinator - Bottle Washer Steriliser and Rinser for Beer + Wine Bottles
Regular price £7.95Regular priceUnit price per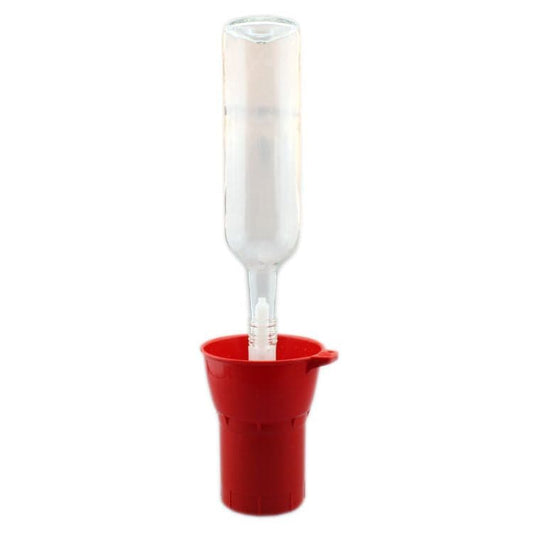
-
Bottle Drainer Stand - 45 Bottle
Regular price £25.93Regular priceUnit price per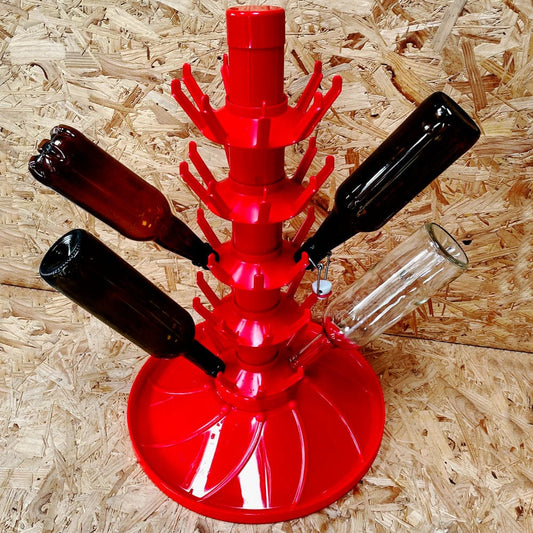
-
Bubbler Airlock with 1 Gallon Rubber Bung
Regular price £1.50Regular priceUnit price per


-
Acid Blend Wine Enhancer - 100g - Harris
Regular price £3.50Regular priceUnit price per
-
AMS Water (Liquor) Treatment For Brewing Beer - 500ml - Harris
Regular price £5.57Regular priceUnit price per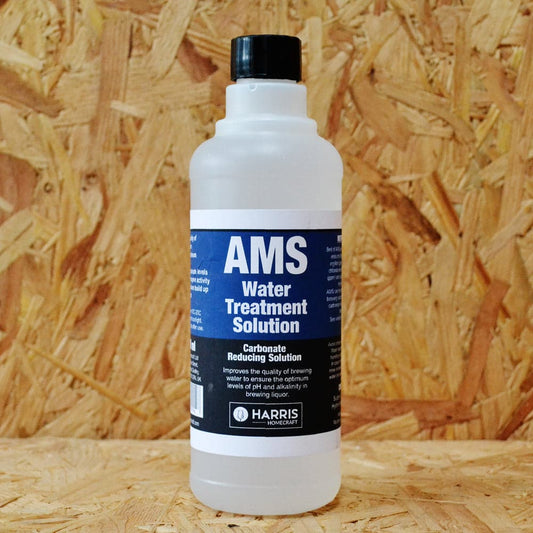 Sold out
 -
Amylase Starch Reducing Enzyme - 15ml - Harris
Regular price £2.52Regular priceUnit price per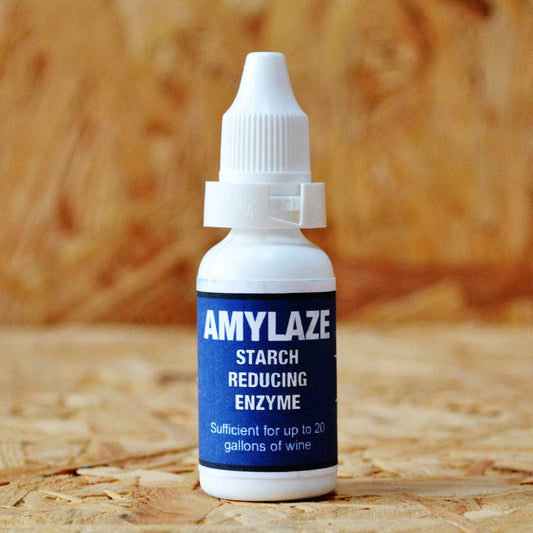 Sold out
 -
Bentonite Clay E558 - Pectin Protein Absorber - 100g
Regular price £2.40Regular priceUnit price per£2.61Sale price £2.40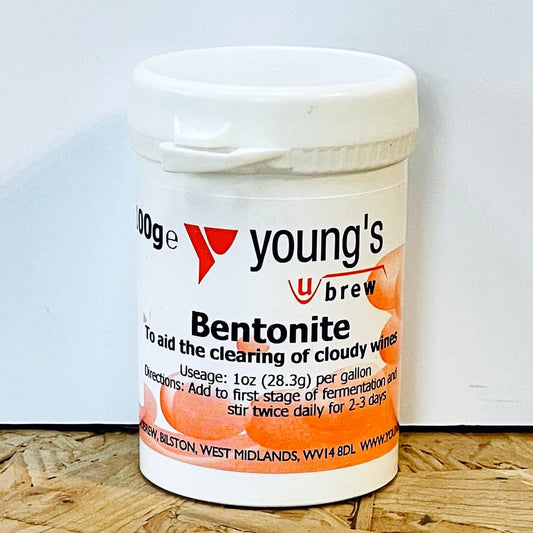 Sale
Sale -
Brut Force - Glucose Amylase Wort Enzyme To Produce a Dry Beer - Harris
Regular price £1.50Regular priceUnit price per
-
Campden Tablets - 10 - Wine Stabiliser, Deoxidiser, Steriliser - Treats 23 Litres
Regular price £0.99Regular priceUnit price per
-
Campden Tablets - Wine Stabiliser, Deoxidiser, Steriliser - Pack of 100 - HS
Regular price £4.75Regular priceUnit price per
-
Campden Tablets - Wine Stabiliser, Deoxidiser, Steriliser - Pack of 50
Regular price £3.71Regular priceUnit price per
-
Citric Acid (E330) - 100g
Regular price £2.35Regular priceUnit price per
-
Citric Acid (E330) - 50g Resealable Stand Up Pouch
Regular price £0.99Regular priceUnit price per


