


Scrumpy Cider Recipe
Cider is so easy to make!
Making hard cider from apples at home is actually quite a simple and straight forward process! The hardest part is getting all of that lovely juice from your apples! But that will be the best tasting apple juice you have ever drank. Then its just a few more steps to turn that juice into the best scrumpy cider that will be powerful, potent and more importantly, taste amazing.
The word scrumpy comes from scrumping, sneakily going out there and pinching a "few" apples from a neighbours tree. Windfall apples were always the easiest to scrump and usually as they have fallen early, they arent quite ripe and a bit more acidic. Once turned into cider that extra acidity adds a lush crispness to the cider and makes it really refreshing.
Nowadays there really is no need to scrump, there are trees along side the road with lots of delicious apples and I'm sure everyone has a neighbour with a tree weighed down with apples.
You may see the term "hard cider", that's what the Americans call cider. Cider to them is just apple juice.
As a rough guide, 20lb of apples will give you 1 gallon of apple juice for you to make cider.
You can make cider from pretty much any variety of apple. They could be cookers, eaters or a blend of many different types. In an ideal world, cider apples would be best but again any type of apple is capable of making you a nice, real home made cider!


Ingredients
To make Cider, you will need:
20lbs / 9kgs apples
Campden Tablets
1 tsp Pectolase
1 tsp Cider Yeast
1 tsp Yeast Nutrient
Muslin / Straining Bag
Possibly some Brewing Sugar


Equipment
You are also going to find it a lot easier if you have some basic brewing equipment. You will need:
Fermentation bucket & lid
Demi john
Syphon
Spoon
Press or juicer
Airlock & bung
Steriliser & cleaner
Hydrometer & Trial Jar
Glass Bottles


Method
So, you’ve got your apples.
Sort through them and discard any rotten or nasty looking apples as these could reduce the success of your cider.
Wash in a big bowl of cold water then cut away any bad bits and quarter your apples. Over ripe bits can be left in.
Depending on your equipment there are a few ways of extracting the juice.
If you have an apple press, then the best way to get the juice out is to pulp your apples first which will make them much easier to compress and squeeze in the press. Do this by using a food processor for the easy approach, or you could bash them with a piece of wood or sterilised equipment or you could invest in a scratter which rips the apples into perfect pulp. Once pulped you can press the apples and release all the natural juices. Collect this in a sterilised container and transfer to your fermenting bin.
If you don’t have a press then you could always cheat and use a juicer! This works quite well, although not that traditional, you’ll still be able to get the juice from your apples which is the main point here. If you use a juicer let the juice stand for a couple of hours such that all the bits and pips go to the bottom and the foam goes to the top, in the middle will be your nice juice. You can then syphon the clean juice out of your container into your fermentor leaving all the bits we don’t want behind.
Great! You’ve got your 1 gallon of apple juice. As hard as it may be, don’t be tempted to drink it, we’ll need every last drop!
The next step is to add a crushed campden tablet to your juice (use two spoons to crush the tablet into a powder). This will subdue any natural yeasts in the juice which will then allow us to add our own yeast of choice. Using the campden tablet will help to ensure a successful brew! Sprinkle into the juice, give it a stir, put the lid on your fermentation vessel and leave it for 24 hours to get to work. Don’t add your own yeast until 24 hours have passed otherwise the campden tablet may stop that as well as the natural yeasts.

After 24 hours it’s time to get the fermentation going.
It’s good to test how much sugar is in your juice before we add any yeast or additional sugar.
Take some juice into your sterilised trial / sample jar and pop in your hydrometer. This will test the specific gravity of the liquid and tell us how much sugar is in the apple juice.
We need to take this value and keep it safe as we can use it when the fermentation is complete to work out how much alcohol content our cider has.
Depending on how strong you want your end product you could add more sugar to your juice. But be careful, natural juice is quite high in sugar and can produce a very strong cider with a high alcohol content.
For example, if the hydrometer reading comes out at around 1.040, then you should end up with an approximate ABV of 5%. If you want it stronger just add more sugar. 17 grams of sugar per litre of juice will increase the ABV by 1%.
Whether you’ve added sugar or not it’s now time to add yeast.
Use a cider yeast and add a 5 gram sachet.
If you are making a larger quantity, the whole sachet would be enough to make a full (23 litres) 5 gallons of cider.
Stir it around and then add some yeast nutrient. A teaspoon is normally good for 1 gallon.
You may see vitamin B1 tablets being used. These are no longer available, so use yeast nutrient instead.
Pop the lid on your bucket loosely if you’re not using an air lock. If you have an air lock fill it up a little bit with sodium metabisulphite solution to prevent any nasties getting into your juice.
Place the fermentation bucket somewhere you won't need to move it and make sure the room temperature is between 18-22 degrees Celsius.
Within half a day or so your cider will be active and fermenting. You’ll know this if you have an airlock as it will be bubbling away nicely. We’re going to leave this now for around 7 days.

After a week the main fermentation will be complete and your cider will be ready to transfer to a Demi-John.
We are going to syphon the nice liquid away from the sediment that has collected at the bottom of your bucket.
So get a clean, sterilised Demi-John and syphon your cider into it. You should now have a cider with no sediment or bits in it. A ‘simple syphon’ is good for this process as it has a sediment trap.
Fill your Demi-John up to the bottom of the neck.
Pop a bung and airlock in the top. Next it goes back into a warm place at around 20 degrees Celsius until it has fully fermented (fermented to dryness). This is when all of the sugar has been eaten by the yeast and turned into alcohol. If your airlock has stopped bubbling then it’s normally a good sign that fermentation is complete. The yeast are going to eat other compounds in the cider and create some flavours, so just because there are no more bubble coming through the airlock, it does not mean it has finished.
You should also check the specific gravity of the liquid again with your hydrometer. It should be read close to 1.000 for three consecutive days.
You've made CIDER!
So what’s next?
Well, at this stage it’s probably not completely clear and it certainly won’t be very mature. It is drinkable, but trust us, follow these next steps and it will make it taste fantastic.
We now need to bottle it. This is where we can add priming sugar to create a secondary fermentation in the bottle which will make it fizzy.
Glass swing top bottles are great for cider; add around a teaspoon of sugar to each bottle (you’ll need around 8 or 9 bottles) and then siphon your cider into the bottles.
This will mix up the sugar and it will dissolve into the cider. Secure the lids, turn them upside down a couple of times to make sure the sugar is all dissolved and we are done.


Put the bottles back in your warm place at 20 degrees Celcius for the secondary fermentation to take place in the bottles.
The yeast will eat the teapsoon of sugar and as the CO2 cant escape, it makes the cider fizzy.
After 2 weeks in the warm, put the bottles somewhere cool for them to clear.
Now all you have to do, if you can, is wait for a few weeks for your cider to clear and condition.
Once crystal clear, pop a bottle in the fridge and enjoy nice and cold!
Tip: When serving, pop the lid off and then start pouring gently, not letting it glug, in one smooth pour. This will help prevent disturbing the sediment at the bottom of the bottle and give you crystal clear cider.
Making A Sweet Cider
This will create a dry cider.
All ciders even the ones made by large manufacturers will be dry. They make a sweet cider by pasturising the cider to kill the yeast and then adding sugar before adding carbon dioxide to make it fizzy and then bottling it. Adding sugar to a cider to make it sweet is called back sweetening.
Now if you want to make a sweet fizzy cider at home and dont have a £100,000 bottling plant, it's not quite so easy, but it is possible and here's how...
If you like your cider sweeter, then you can add a sweetener as well as the priming sugar in the bottling step (not extra sugar) to the bottle at the point of bottling. You can't use extra sugar as the yeast will just eat it and make it even fizzier. So look for a non fermentable sweetner and add to taste.
Or, you can add sugar at the time of drinking. It's best to make up a sugar syrup using 1 tablespoon of supermarket granulated sugar and 25ml of boiling water. Put them in a glass and stir until dissolved. Now add to your glass of cider a teaspoon at a time and swirl gently to incorporate the syrup. This method will keep your cider fizzy. If you just added granulated sugar to your glass of cider, it would just fizz like mad and you would need to stir like crazy to dissolve it in the cold cider.
Good luck and enjoy your quality, home made cider!
For additional help check out our comprehensive video on how to make Hard Scrumpy Cider:


Watch Our scrumpy cider video on YouTube.
Davin will take you through the recipe and the process to make one of the easiest and tastiest ciders that you can make at home.
Cheers & Happy brewing.
Home brewed cider can be very strong, so remember to drink responsibly.

You May Also Be Interested In...
-
2 Handled Wine Bottle Corker
Regular price £15.73Regular priceUnit price per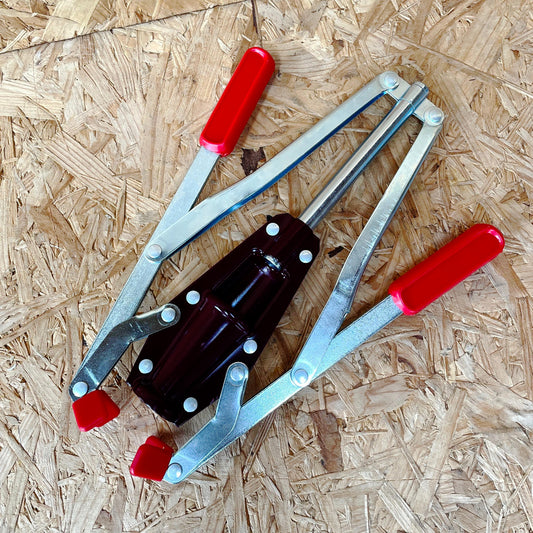
-
CLEAR IT Wine & Beer Finings
Regular price £5.66Regular priceUnit price per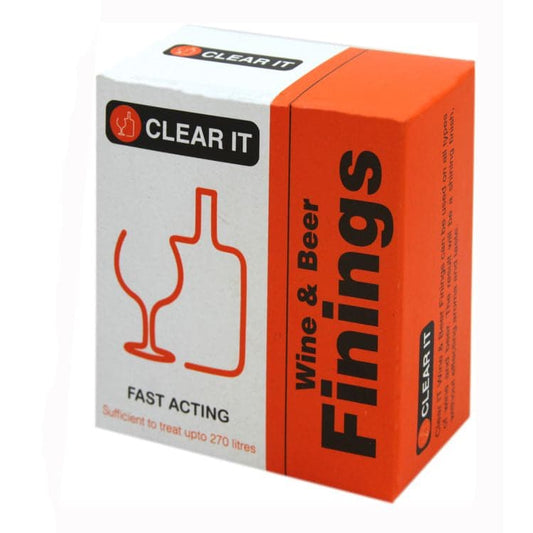
-
10 Litre Youngs Fermentation Brewing Bucket & Lid
Regular price £7.79Regular priceUnit price per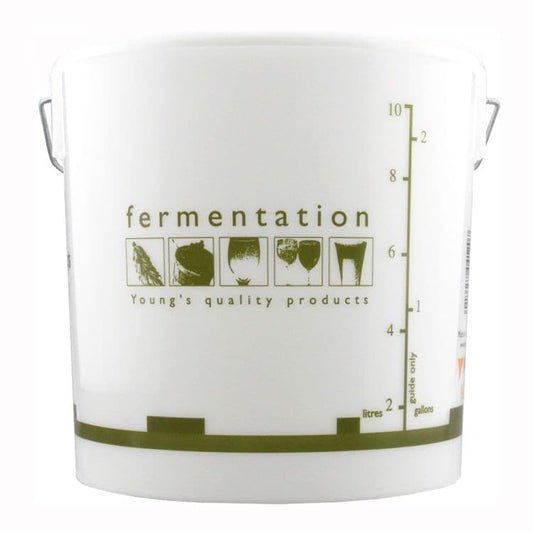
-
Harris Mk3 Vinbrite Wine Filter Kit with Filter Papers and Pads
Regular price £27.41Regular priceUnit price per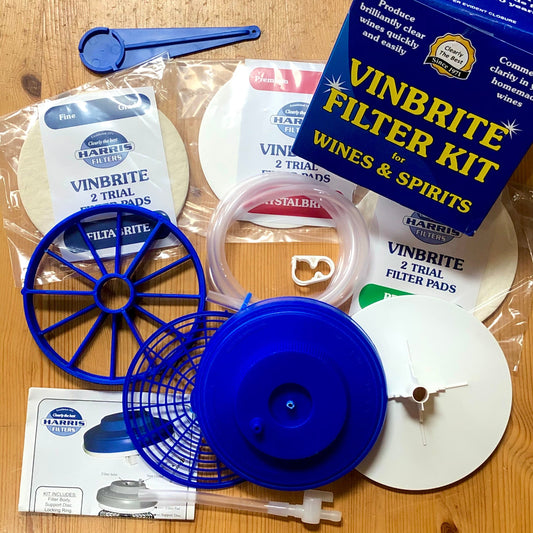
-
Demi John - 5 Litre Plastic with Cap and Rubber Seal (for airlock)
Regular price £2.95Regular priceUnit price per£3.79Sale price £2.95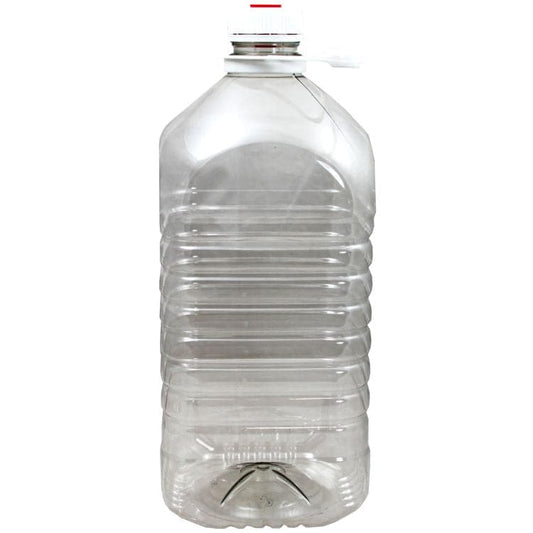 Sale
Sale -
Large Mashing - Sparging - Straining Bag
Regular price £12.95Regular priceUnit price per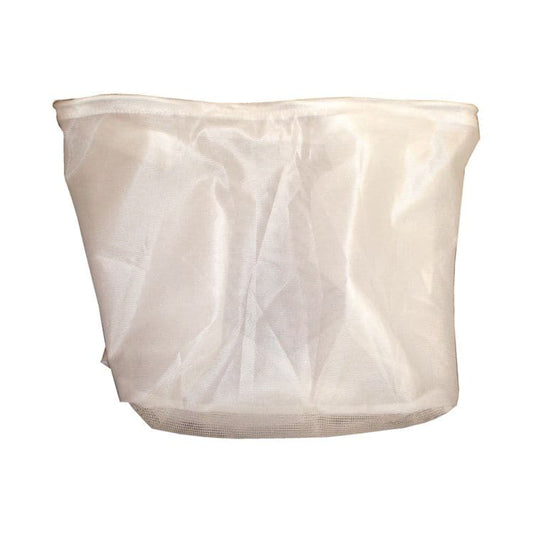
-
Wine Bottle Corks - 30 Pack
Regular price £3.95Regular priceUnit price per
-
Spin Vinator - Bottle Washer Steriliser and Rinser for Beer + Wine Bottles
Regular price £7.95Regular priceUnit price per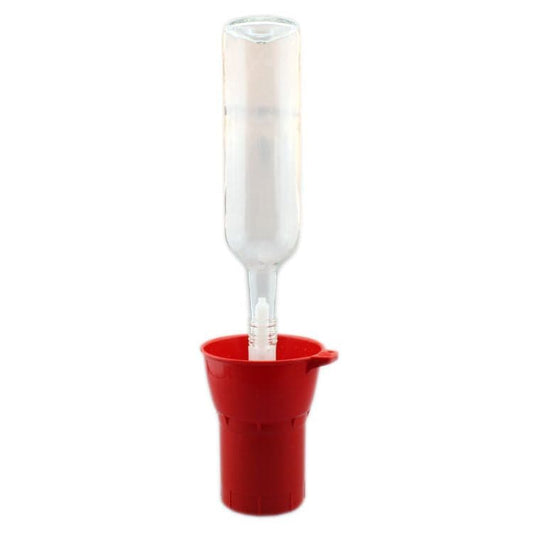
-
Bottle Drainer Stand - 45 Bottle
Regular price £25.93Regular priceUnit price per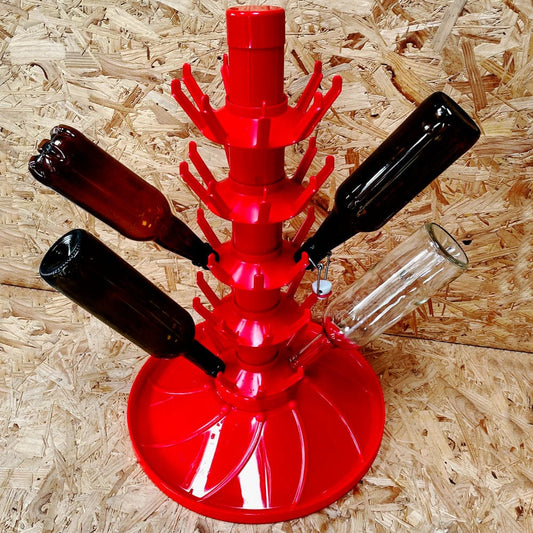
-
Bubbler Airlock with 1 Gallon Rubber Bung
Regular price £1.50Regular priceUnit price per


-
Acid Blend Wine Enhancer - 100g - Harris
Regular price £3.50Regular priceUnit price per
-
AMS Water (Liquor) Treatment For Brewing Beer - 500ml - Harris
Regular price £5.57Regular priceUnit price per Sold out
 -
Amylase Starch Reducing Enzyme - 15ml - Harris
Regular price £2.52Regular priceUnit price per Sold out
 -
Bentonite Clay E558 - Pectin Protein Absorber - 100g
Regular price £2.40Regular priceUnit price per£2.61Sale price £2.40 Sale
Sale -
Brut Force - Glucose Amylase Wort Enzyme To Produce a Dry Beer - Harris
Regular price £1.50Regular priceUnit price per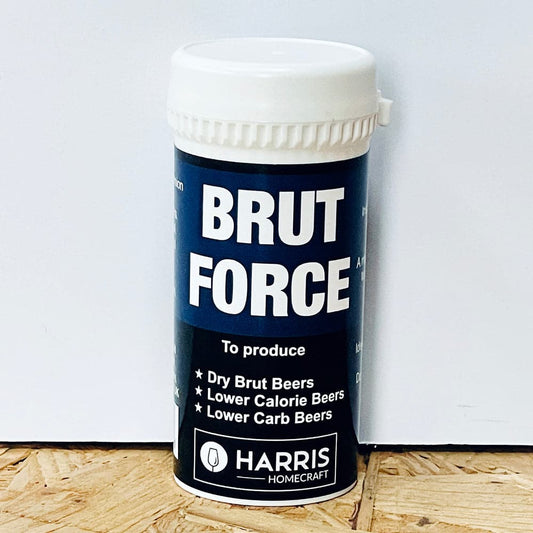 Sold out
 -
Campden Tablets - 10 - Wine Stabiliser, Deoxidiser, Steriliser - Treats 23 Litres
Regular price £0.99Regular priceUnit price per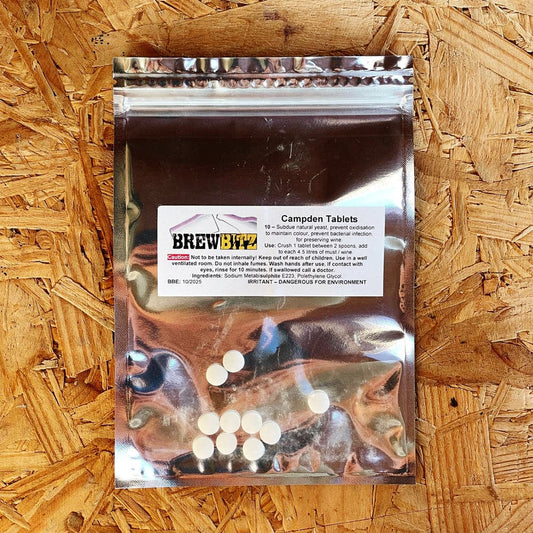
-
Campden Tablets - Wine Stabiliser, Deoxidiser, Steriliser - Pack of 100 - HS
Regular price £4.75Regular priceUnit price per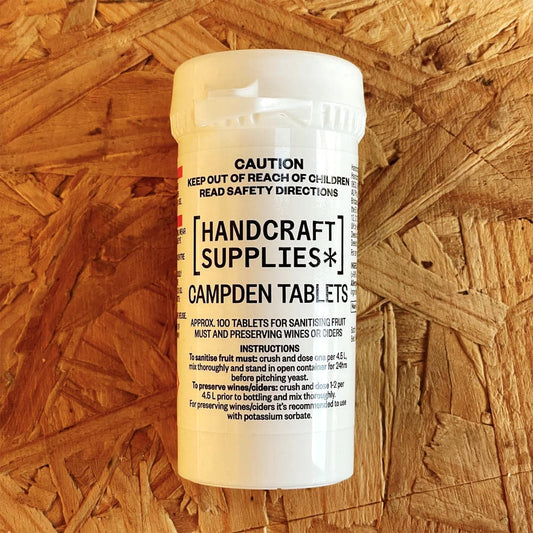
-
Campden Tablets - Wine Stabiliser, Deoxidiser, Steriliser - Pack of 50
Regular price £3.71Regular priceUnit price per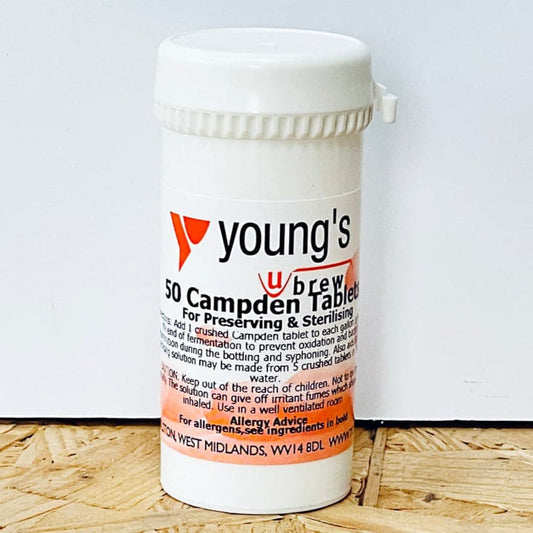
-
Citric Acid (E330) - 100g
Regular price £2.35Regular priceUnit price per
-
Citric Acid (E330) - 50g Resealable Stand Up Pouch
Regular price £0.99Regular priceUnit price per


